Amplifier Matching and Gain Setting
How to match amplifiers to speakers, understand RMS vs peak power, set gain correctly, and avoid clipping. Practical guide for car audio amplifier installation.
Amplifier matching is where car audio upgrades go wrong most often. People buy amps based on meaningless peak power numbers, run them at impedances they were not rated for, and set the gain by ear until it "sounds loud enough." The result is clipped signals and fried voice coils. All avoidable if you understand a few concepts.
RMS vs. Peak Power: Ignore Peak
Every amplifier has two power ratings, and one of them is useless. Peak power (sometimes called "max power" or "dynamic power") is the absolute maximum wattage the amplifier can produce for a brief instant, measured under conditions that do not represent real-world use. It is a marketing number. Ignore it completely.
RMS power (root mean square, sometimes called "continuous power") is the amount of power the amplifier can sustain over time at a specified distortion level — usually 1% THD or less. This is the number that matters. When you are matching an amplifier to speakers, use RMS ratings exclusively. A speaker rated at 50 watts RMS needs an amplifier that produces roughly 50-75 watts RMS into the speaker's impedance. That is it. The peak rating on the speaker and the peak rating on the amp are irrelevant to this calculation.
Key point: If an amplifier's packaging prominently displays a large number like "1600W MAX" but you have to read the fine print to find "400W RMS x 1 @ 2 ohms," you are looking at a product whose manufacturer is relying on the big number to sell units. The 400W RMS figure is the real specification. Buy based on reality, not marketing.
Reputable manufacturers publish RMS ratings at multiple impedances with a specified THD figure. If the spec sheet does not include impedance and THD for the RMS measurement, the number is suspect.
Impedance Matching: Ohms Matter
Impedance is the opposition to current flow, measured in ohms. Car speakers are typically 4 ohms. Subwoofers come in 2-ohm and 4-ohm varieties, and dual voice coil subs can be wired to different impedances depending on configuration.
Lower impedance means more current and more power. A typical amp might produce 100 watts RMS at 4 ohms and 150 watts at 2 ohms. The critical rule: never run an amplifier below its minimum rated impedance. A 2-ohm minimum amp will overheat or fail on a 1-ohm load.
Wiring multiple subs or dual voice coil subs changes the total impedance. Two 4-ohm subs in parallel present 2 ohms. In series, 8 ohms. A dual voice coil sub with two 4-ohm coils wires to 2 ohms (parallel) or 8 ohms (series). Get this wrong and the amp fails. Calculate the total impedance before you connect anything.
How Much Power Do You Need?
For front and rear speakers, 50-75 watts RMS per channel is plenty for most listeners. This provides enough headroom for clean, dynamic playback at volumes that are comfortable in a car environment. Going beyond 100 watts per channel to door speakers is entering diminishing returns territory — the speakers themselves become the limiting factor, and you start spending money on amplification that the speakers cannot fully utilize.
For subwoofers, the appropriate power depends on the driver. Check the manufacturer's RMS power handling specification and aim to match it or exceed it slightly. A sub rated for 300 watts RMS performs best on an amplifier producing 300-400 watts RMS. This gives you headroom for transient peaks without continuously overdriving the sub at average listening levels.
Underpowering is not "safer" than overpowering. An underpowered amp turned up to compensate clips the signal, and clipping is what actually destroys speakers. A 500-watt amp at half volume delivers clean signal. A 100-watt amp at full volume delivers clipped, distorted signal that cooks voice coils.
A speaker that is rated for 75 watts RMS is not going to explode if you connect it to a 150-watt amplifier, as long as you are not sending it a full 150 watts of continuous signal. An amplifier's rated output is its maximum — you control how much of that power actually reaches the speakers with the volume and gain controls. Having headroom is a good thing.
Gain: It Is Not a Volume Knob
This is the single most misunderstood control in car audio. The gain knob on an amplifier does not control volume. It controls input sensitivity — how much of the incoming signal the amplifier uses to produce its rated output.
Gain matches the amp's input sensitivity to the head unit's output voltage. Set it too high and the amp clips before the head unit reaches full volume. Set it too low and you never get the amp's full clean power. Think of it as a calibration control: set it once during installation, then never touch it. Volume is controlled at the head unit.
How to Set Gain Properly
Setting gain requires a multimeter or oscilloscope. The "turn it up until it sounds right" method is how voice coils get fried. Here is the correct procedure:
- Calculate target voltage. Use the formula: voltage = square root of (power x impedance). For an amp rated at 75 watts RMS into 4 ohms: voltage = sqrt(75 x 4) = sqrt(300) = 17.3 volts AC.
- Set all EQ to flat. Bass boost off, loudness off, all tone controls at center. Any EQ boost artificially raises the signal level and will cause the gain to be set too low.
- Turn the amplifier gain all the way down.
- Play a test tone (a 50 Hz sine wave for a sub amp, a 1 kHz sine wave for a full-range amp) at approximately 75% of the head unit's maximum volume. This leaves headroom for peaks in real music without clipping the head unit's internal amp.
- Set your multimeter to AC volts and connect it to the amplifier's speaker outputs (with no speaker connected, or with the speaker connected — the reading will be the same).
- Slowly turn up the gain until the multimeter reads your target voltage (17.3V in our example). Stop there.
- Verify: the voltage should remain stable and not fluctuate wildly. If it jumps around, you are clipping. Turn the gain down slightly.
If you have an oscilloscope, the process is even clearer: watch the sine wave on the output and turn up the gain until the tops of the waveform just start to flatten. Then back off slightly. That flat-topping is clipping, and you want to be just below it.
Key point: Setting gain by ear is unreliable because human hearing adapts to distortion gradually. You will not notice the onset of clipping while music is playing until it is bad enough to damage speakers. Use a meter or an oscilloscope. This is a five-minute procedure that protects hundreds of dollars of equipment.
Clipping: What It Is and Why It Kills Speakers
Clipping occurs when an amplifier is asked to produce more output than it is capable of. The top and bottom of the audio waveform get "clipped" flat because the amplifier has reached its maximum voltage swing and cannot go higher. The result is a squared-off waveform that contains enormous amounts of harmonic distortion.
Clipping kills speakers in two ways. First, the distorted signal contains far more high-frequency energy than clean music — harmonics that generate heat rather than sound. Second, a clipped signal has roughly twice the average power of a clean signal at the same peak level, so the voice coil absorbs far more thermal energy than it was designed for.
The solution is to set the gain correctly so the amplifier operates within its linear range. Use the head unit volume — not the gain — to control how loud the system plays.
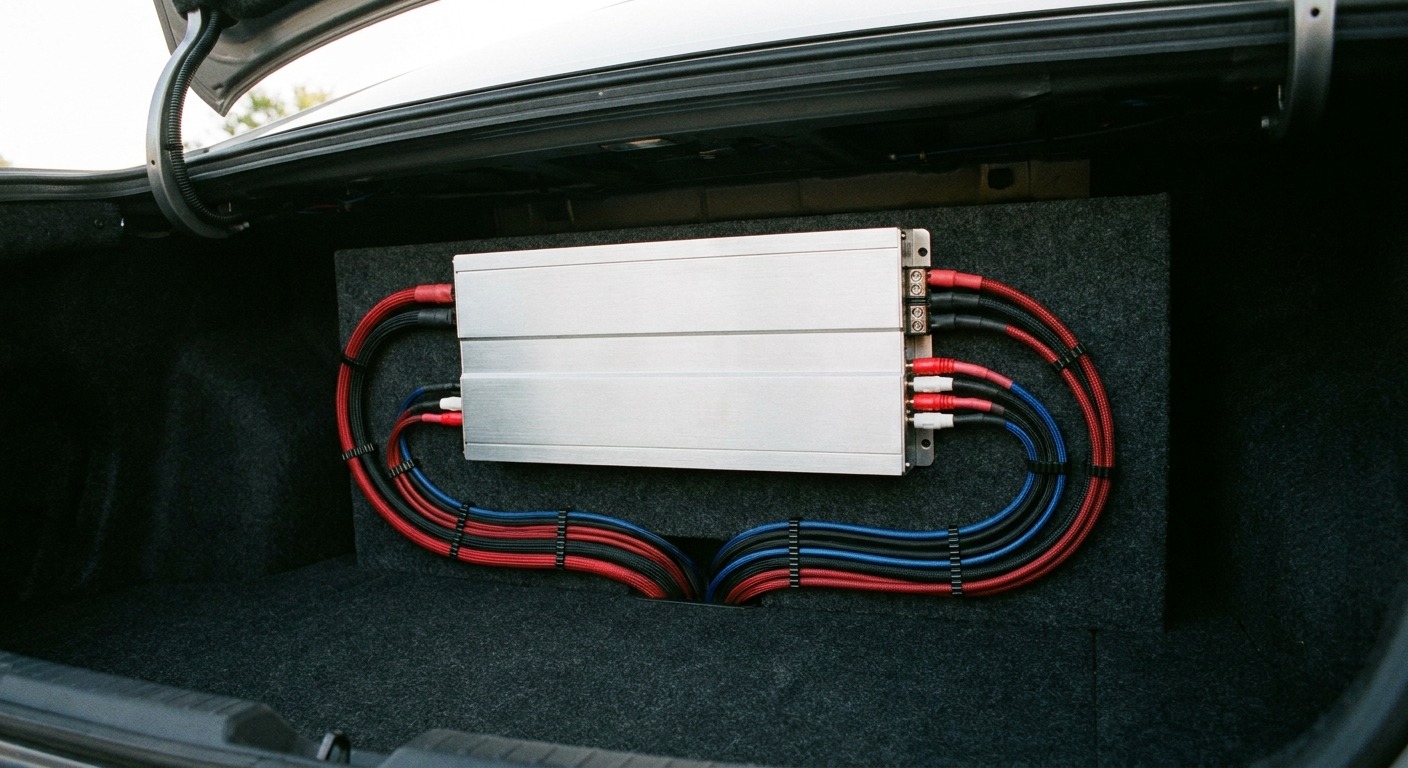
Wiring and Installation Basics
For most single-amp systems, 4-gauge power wire is sufficient. Use a fuse at the battery — this protects the wire from starting a fire if it shorts against the chassis. Size the fuse to the wire's current capacity.
Ground the amplifier to a clean, bare-metal point on the chassis as close to the amp as possible. Sand the paint off, use a crimped ring terminal, and bolt it tight with a star washer. A bad ground is the most common cause of alternator whine and hum.
Run signal cables (RCA interconnects) on the opposite side of the vehicle from the power wire. A basic set of twisted-pair RCAs is sufficient — exotic cable materials make no measurable difference.
Putting It Together
Match your amplifier to your speakers based on RMS power at the correct impedance. Set the gain with a meter, not your ears. Fuse the power wire at the battery. Ground it clean and tight. Run your RCAs away from the power wire. This is not complicated, but getting it right is the difference between a system that sounds clean at any volume and one that distorts, hums, and eventually destroys your speakers.
If you are still choosing your speakers, read our component vs. coaxial guide to understand what you are driving. For subwoofer systems, the sealed vs. ported enclosure guide covers the other half of the sub equation. And for a broader view of what a complete car audio system looks like, start with the car audio basics overview. The resources page links to communities where you can get wiring diagrams and vehicle-specific advice for your exact setup.